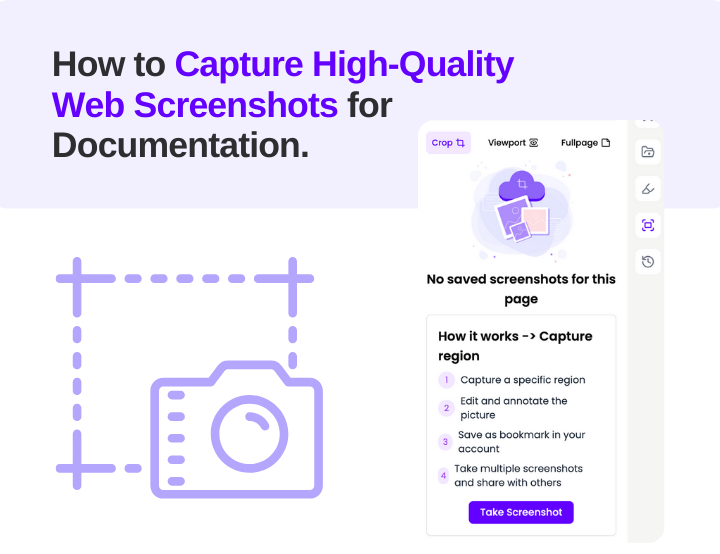
How to Capture High-Quality Web Screenshots for Documentation

Capturing high-quality web screenshots is an essential skill for creating effective documentation. Whether you're preparing technical manuals, presentations, or educational materials, clear and precise screenshots can make your content more engaging and easier to understand. In this guide, we’ll walk you through the best practices and tools to ensure your web screenshots are optimized for professional documentation.
Choose the Right Tools
To capture high-quality web screenshots, start by selecting a tool that aligns with your needs. Here are a few top recommendations:
- PlutoAI: Offers advanced annotation and organization features, making it ideal for documentation purposes.
- Awesome Screenshot: Combines basic capture options with robust editing tools.
- Nimbus Capture: Great for both screenshots and screen recordings.
- Fireshot: Perfect for capturing and exporting entire webpages in high resolution.
Tips:
- Use browser extensions for convenience and seamless integration with Chrome or Firefox.
- Check the resolution settings to ensure high-quality captures.
Capture the Right Content
When documenting, it’s important to determine what part of the webpage you need to capture. Options include:
- Full-page screenshots: Best for step-by-step guides.
- Visible area only: Ideal for highlighting a specific section.
- Custom area selection: Use when focusing on specific details.
Pro Tip:
Enable gridlines or guides in your screenshot tool to ensure precise cropping and alignment.
Ensure Clarity and Readability
For screenshots to be effective, they must be clear and readable. Here’s how to achieve that:
- Zoom: Adjust the browser’s zoom level to make text and visuals more legible.
- Resolution: Opt for high-resolution displays or tools that support 4K captures.
- Focus: Close unnecessary tabs or apps to avoid distractions in the background.
Example:
If you’re documenting a dashboard, ensure key metrics are visible and not truncated.
Annotations Wisely
Annotations enhance your screenshots by adding context and guidance. Most tools offer:
- Arrows and shapes: Highlight specific areas.
- Text boxes: Explain key points directly on the image.
- Blur tools: Hide sensitive or irrelevant information.
Best Practice:
Keep annotations concise and consistent in style to maintain a professional look.
Organize Your Screenshots
Efficient organization saves time and ensures easy retrieval. Follow these steps:
- Use folders: Categorize screenshots by project or topic.
- Leverage tags: Tools like PlutoAI automatically generate AI-powered tags for better searchability.
- File naming conventions: Include descriptive names like “Login_Page_Step_1” for clarity.
Tip:
Back up your screenshots to cloud storage for added security.
Optimize for Documentation
Before adding screenshots to your documentation, ensure they’re optimized:
- Resize images: Adjust dimensions to fit your document layout without losing quality.
- Compress files: Use tools like TinyPNG to reduce file size while maintaining clarity.
- Maintain consistency: Use the same aspect ratio and style across all screenshots.
Example:
If your guide includes multiple steps, align all screenshots to the same width for visual uniformity.
Recommended Workflow for Professionals
1. Plan Your Shots: Outline the key areas you need to capture.
2. Capture and Annotate: Use a tool like PlutoAI for seamless capturing and annotation.
3. Organize Files: Save your screenshots in dedicated folders with appropriate tags.
4. Insert Into Documentation: Optimize and embed images in your document or presentation.
Conclusion
High-quality web screenshots are a cornerstone of effective documentation. By using the right tools and following these best practices, you can create visuals that enhance understanding and professionalism. Whether you're preparing a user manual or a technical guide, investing time in capturing and organizing screenshots will pay off in the clarity and impact of your final product.